Go to the Page Layout tab. Go to Format Page Sheet Fit print ranges on number of pages then type 1 or however many pages youd like.

How To Fix Microsoft Excel S File Not Loaded Completely Error In 2020 Microsoft Excel Excel Spreadsheets Excel
Under Page Layout check Size so that it matches the print size and also that it can fit the expected print area Under Page Layout check the Scale so that it doesnt affect the expected page breaks.
How do i fix print area in excel?. Having the group mode issue again. On the Page Layout tab in the Page Setup group click Print Area and then click Set Print Area. Open a worksheet and select the cells that you want to be part of the print area.
If a user sets any print area in excel then only that area will be printed which the user has selected and a print area will be saved when a user will save the workbook. More informative way to define print area in Excel. Set Print Area greyed out.
The quickest way to set a constant print range is this. In Excel 2007 click the Microsoft Office Button and then click Excel Options. Select the part of the worksheet that you want to print.
Click the File tab Options. To do this click on the blue dotted line in the Page Break Preview view and move it to the necessary position holding down the left mouse button. Fastest way to set print area in Excel.
Print Look at Print preview to make sure only 1 or however many pages desired is printed. Sometimes the wrong print area has already been set in which case you want to clear it. A faint gray line will appear denoting the print area.
For example if the results of the formula is a number then use COUNT instead of COUNTA which counts the number of cells with numbers be careful if you have a header that doesnt have a number you will need to add 1 to account for this. Now that you mention the group mode I just remembered seeing that at the top. Yes it was in group mode.
Click on the Print Area button in the top menu. Go to the Scale to Fit group under the Page Layout tab. The print area that you set is saved when you save the workbook.
Choose Set Print Area Hit Enter or Return on your keyboard to set the print area. If you are in a Page Break Preview view and all data is located in. Grey out unused area by Page Break Preview.
Highlight the print area you want then select Set Print. I had closed the worksheet and then later when I reopened it it was working. Excel will count a cell with a formula as not being blank so that will mess up your print area.
A user can also shrink the printout to one page wide or one page high. Change both of Width and Height to 1 page. To see all the print areas to make sure theyre the ones you want click View Page Break Preview in the Workbook Views group.
Go to Format print ranges define. In the Page Break Preview view the unused area will be greyed out. If the table goes beyond the white area then everything in the gray area will not be printed.
Select the area youd like to print. If you want to go back to normal view just click Normal under View tab. To set more than one print area hold down the Ctrl key and select the areas you want to print.
If your Excel spreadsheet isnt printing properly clearing or setting a print area can often help. Actually we can resize the print area and fit to one page by changing the Scale to Fit settings. Open a worksheet and select the cells that you want to be part of the print area.
You cannot add page breaks to a workbook in Excel for the web. Then it resizes print area and there is only one page to print. On the Page Layout tab in the Page Setup group click Print Area Set Print Area.
In the Advanced category under Display options for this worksheet select or clear the Show page breaks check box to turn page breaks on or off in Normal view. To set more than one print area hold down the Ctrl key and select the areas you want to print. This method is valid in Microsoft Excel 2007 later version.
In the Print setting a user can ignore the print area selection as per his requirement. To define the print area you need to set and fix the page layout boundaries that will separate all areas. How to Set Print Area in Excel Details.
Each print area gets a separate page. First open the worksheet the you want to print On the Page Layout tab Scale to fit group you will see a number of options There are two dropdown boxes one for width and one for height. Each print area gets a separate page.
Enable the sheet in which you want to display working area only and click View Page Break Preview. Under Page Layout look under Print Titles so that there are no Rows to repeat at top or left.
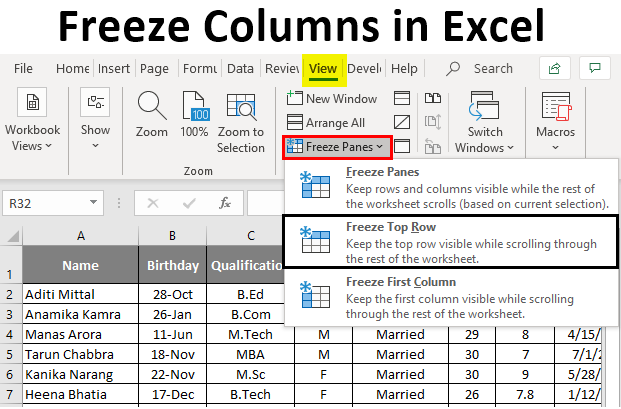
Freeze Columns In Excel Examples On How To Freeze Columns In Excel

Easy Way To Repair Excel Error This File Is Not In Recognizable Format Excel Ms Office Software Workbook

How To Recover And Repair Corrupted Excel File Youtube

Pin On Geek Love

How To Fix Microsoft Office 2016 Not Responding Or Word 2016 Not Starting Youtube Words Or Words Microsoft Office
Excel Print Preview Not Matching The Actual Printed Document Microsoft Tech Community


Fix Pivot Item Captions In Excel Excel Macros Excel Pivot Table

Excel Formula How To Fix The Hashtag Error Exceljet

How To Fix Current Printer Is Unavailable Select Another Printer In Excel Error Easy Solution Youtube

How To Print An Excel Spreadsheet On A4 Paper Excel Spreadsheets Print Fonts A4 Paper

Youtube Excel Excel Tutorials Repair

Microsoft Excel Keyboard Shortcut Printable Poster 8 5 X11 Microsoft Excel Excel Excel Spreadsheets

How To Fix Arrow Key Scrolling In Excel Excel Tutorials Excel Excel Formula

Fixed There Was A Problem Sending The Command To The Program Microsoft Excel Troubleshooting Microsoft Excel Excel Excel For Beginners
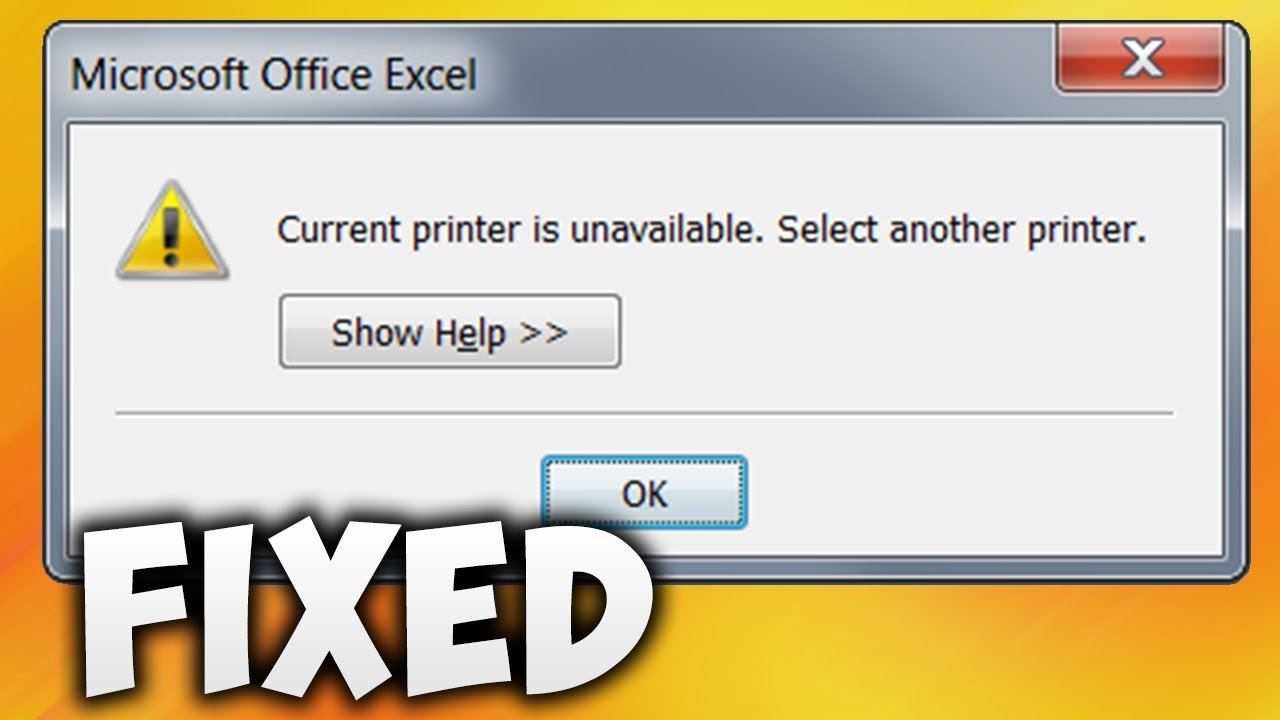
How To Fix Current Printer Is Unavailable Select Another Printer In Excel Error Easy Solution Youtube

Pin On Excel
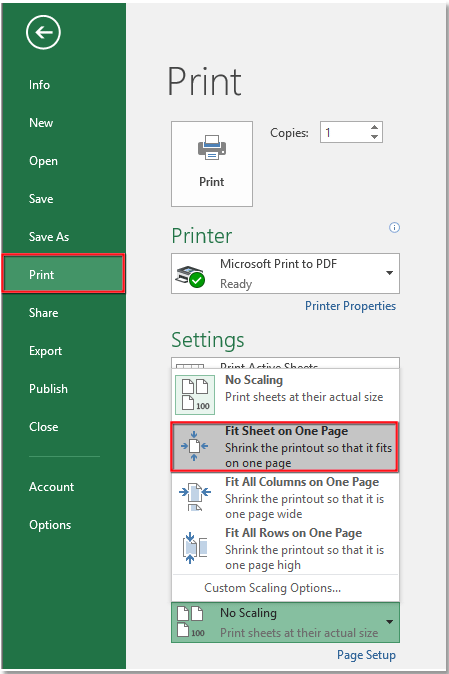
How To Resize Print Area And Fit To One Page In Excel

Word Can T Print Due To A Problem With The Printer Setup 2020 Microsoft Office Word Words Printer
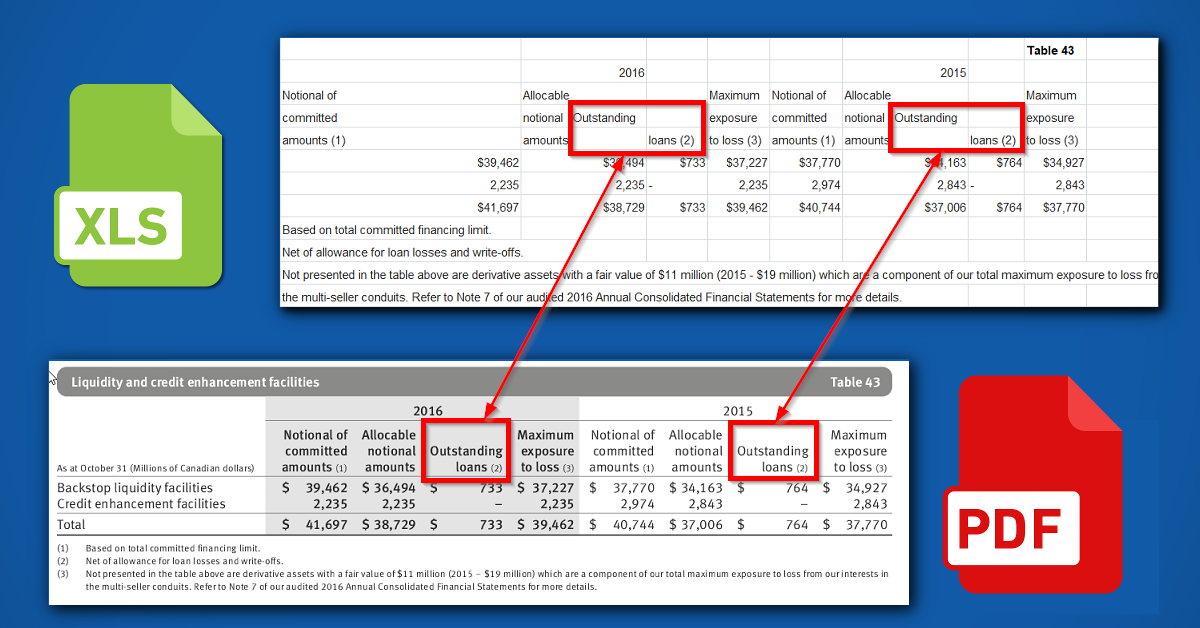
Pdf To Excel Conversion Fixing Misplaced Column Content
0 comments:
Post a Comment